
The 5-Minute Setup: How to Install an eSIM on iPhone & Android (With Pictures)
Hi, and welcome to myesims.com!
So you've grabbed your travel eSIM... now what?
Don't worry – installing an eSIM is way easier than you think! We're talking 5 minutes max, no tech degree required, and definitely no waiting in line at some phone shop abroad. Just you, your phone & a QR code... that's it!
Whether you're rocking an iPhone or Android, we've got you covered with this super simple step-by-step guide. Let's get you connected before your flight takes off!
Before You Start – Quick Checklist!
Make sure you've got these sorted before diving in:
- Check your device is eSIM compatible – Most iPhones from XS onwards & many Android devices support eSIM. Not sure? Head to our Knowledge Base for the full list!
- Stable Wi-Fi connection – You'll need internet to download your eSIM profile
- Your QR code ready – We'll email this to you instantly after purchase (no contracts, no waiting!)
- Battery above 50% – Just to be safe during installation
Pro tip... Install your eSIM the day before you travel & activate it when you land! This way you're not scrambling at the airport with dodgy Wi-Fi.
How to Install eSIM on iPhone (The Easy Way!)
Apple made this ridiculously simple... here's how it works:
Step 1: Open Your Settings
Tap on Settings → then scroll down to Cellular (or Mobile Data if you're in the UK). Easy peasy!
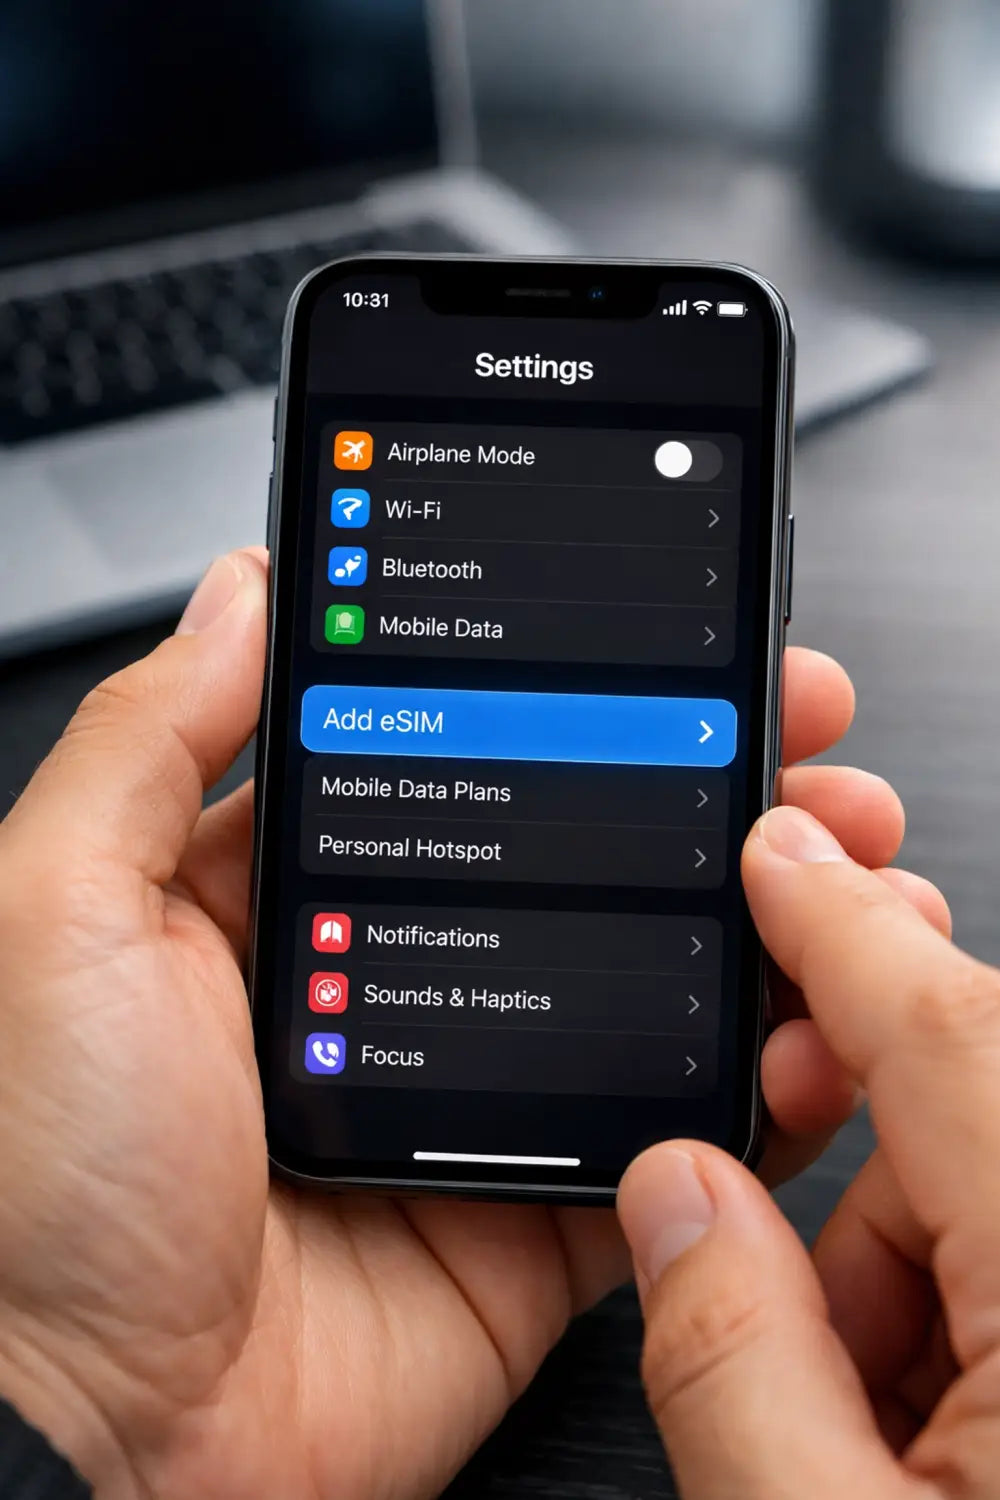
Step 2: Add Your eSIM
Look for Add eSIM or Add Cellular Plan depending on your iOS version. Tap that bad boy!
Step 3: Scan the QR Code
Your iPhone's camera will automatically activate. Just point it at the QR code we sent you via email... and boom! Your phone will recognize it instantly.
Got a QR code link instead? Even easier! If you're running iOS 17.4 or later, just tap the link we sent you & your iPhone will do the rest. Tap Allow when the activation notification pops up & you're golden!
Step 4: Follow the Prompts
A Cellular Plan Detected notification will appear. Tap it & follow the super simple on-screen instructions. Your iPhone literally walks you through it!
Step 5: Label Your eSIM (Optional but Helpful!)
Give your new eSIM a name like "Travel" or "Europe Trip" so you can easily switch between your regular SIM & travel eSIM. Makes life so much easier!
Step 6: Activate When You Arrive
Here's the important bit... don't activate until you land!
When you arrive at your destination, just go to Settings → Cellular → Select your myesims.com eSIM line → Toggle it ON. That's when your data plan starts!
You can keep your home SIM active for calls & texts while using your eSIM for data. Best of both worlds!
How to Install eSIM on Android (Just as Simple!)
Android users – we haven't forgotten about you! The process is slightly different depending on your phone brand, but here's the fastest method that works for most devices:
Method 1: Direct Installation (Fastest!)
If your eSIM provider (that's us!) has an app or sends you a direct installation link:
- Open the link or app we sent you
- Locate your plan & tap Details
- View Instructions → Select Direct Installation
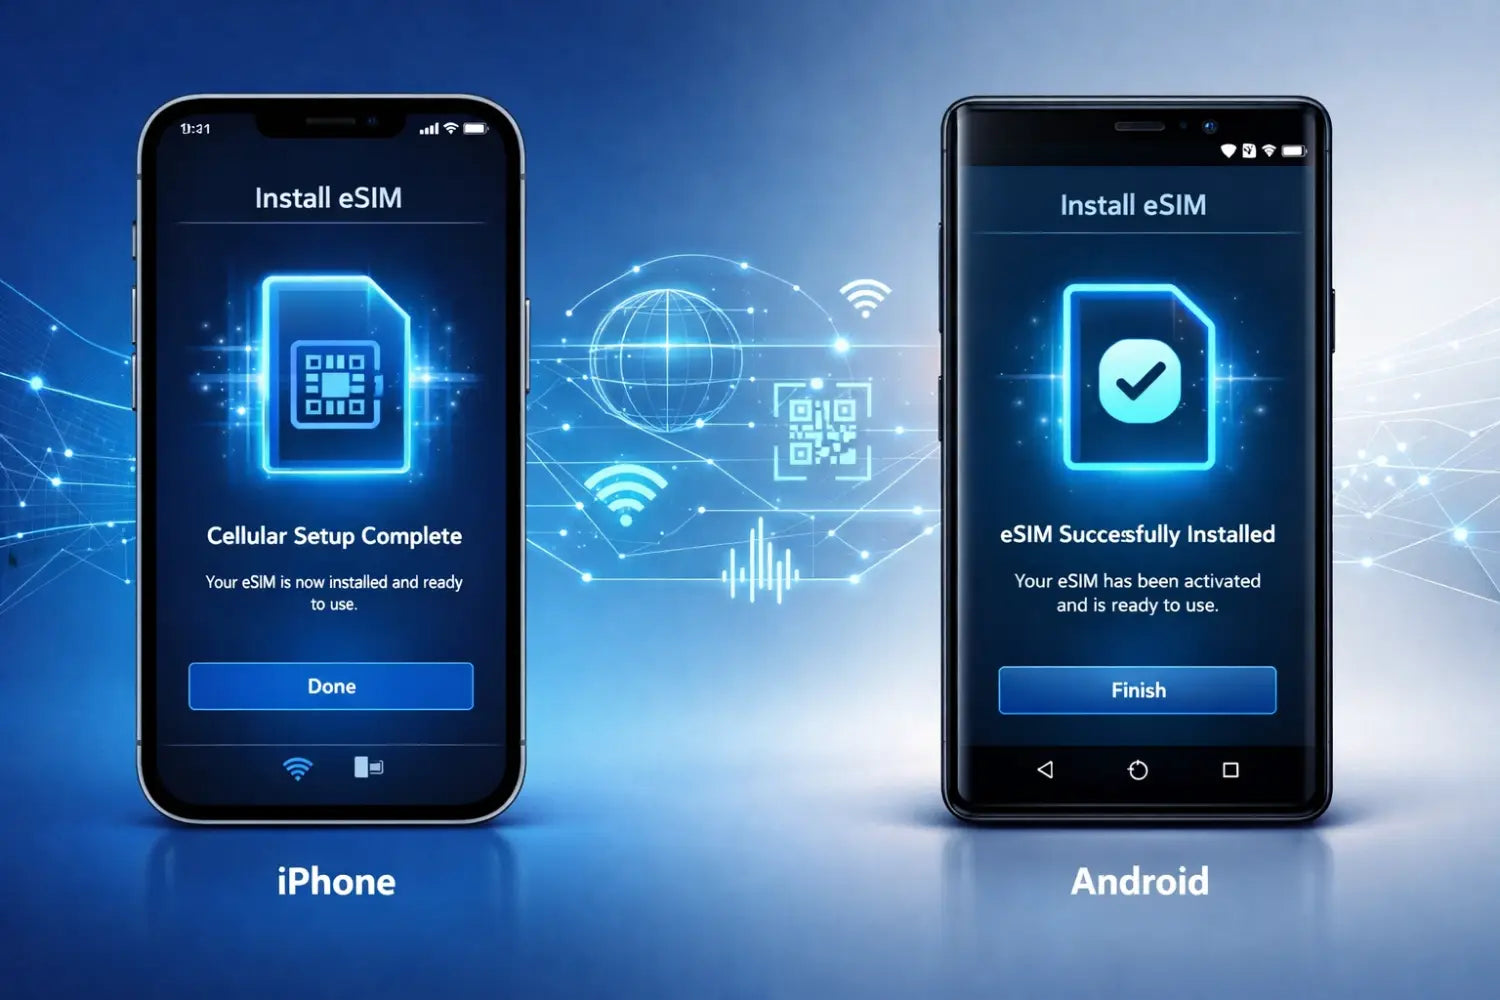
- Tap Install eSIM & allow any permissions your phone requests
- Wait a few minutes for the download to complete (grab a coffee... you've earned it!)
Method 2: QR Code Method (Universal!)
Works on pretty much every Android device:
- Open Settings → Tap Connections (Samsung) or Network & Internet (Google Pixel & others)
- SIM Card Manager or Mobile Network → Add Mobile Plan
- Scan QR Code → Point your camera at the QR code we emailed you
- Confirm Installation & wait for your eSIM to download
- Name your eSIM something memorable like "Holiday Data" or "USA Trip"
For Google Pixel users: Settings → Network & Internet → SIMs → Add More → Scan QR Code!
Step 7: Activate Upon Arrival
Just like iPhone users... wait until you land before activating!
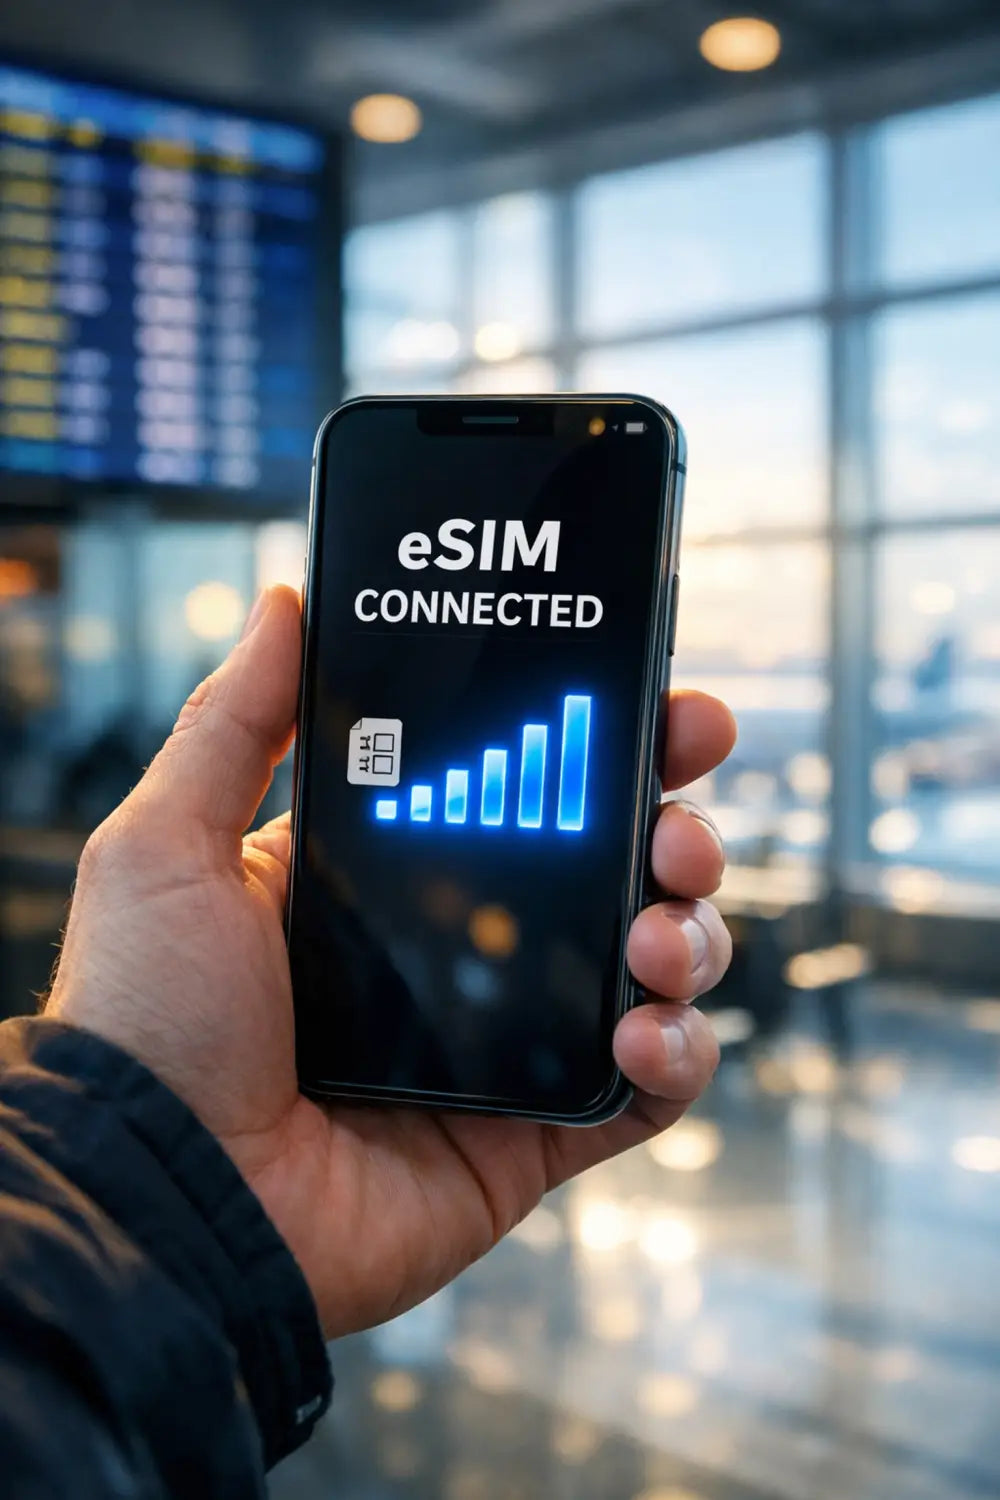
Go to Settings → Connections → SIM Card Manager → Select your myesims.com eSIM → Toggle ON. Your data will kick in immediately & you'll be scrolling Instagram before you even leave the airport!
Pro Tips & Troubleshooting
eSIM not showing up? Restart your phone! Seriously... it fixes like 80% of tech issues.
QR code won't scan? Make sure you're scanning the entire code & there's good lighting. You can also try screenshotting the QR code & scanning from your gallery on some devices.
Can I use my eSIM on multiple devices? Nope! Each eSIM is tied to one device. But you can buy multiple eSIMs from us with ease – check out our destination plans for Europe, Asia & North America!
What happens to my regular SIM? Nothing! Your physical SIM stays active. You can use your eSIM for data while keeping your home number for calls. Perfect setup!
How do I know it's working? You'll see signal bars & a data icon appear. Try opening a browser or app that needs internet – if it loads, you're connected!
Why myesims.com Makes It Even Easier...
Here's the thing... we've stripped away all the annoying stuff:
✓ Instant delivery – QR codes sent to your email in seconds
✓ No contracts – Pay once & you're done!
✓ Activate when you want – Install before you go, activate when you land
✓ Crystal-clear instructions – We'll walk you through every step
✓ 24/7 support – Stuck? We're here to help!
Whether you're heading to Paris, Tokyo, or New York... getting connected abroad shouldn't be complicated. With myesims.com, it's literally scan, install & go!

Ready to Travel Smarter?
Installing an eSIM genuinely takes 5 minutes... sometimes less! No more hunting for Wi-Fi in foreign airports, no more crazy roaming charges from your home carrier & definitely no more SIM card swapping drama.
Browse our travel eSIM plans by destination & get your QR code instantly. Install it tonight, activate it tomorrow & you'll be connected the second you step off that plane!
Questions? Check out our FAQs & Knowledge Base or reach out – we're always happy to help!
Safe travels & happy scrolling! ✈️